Main Nav

Showing posts with label Photoshop. Show all posts

Mar 30, 2013

Common Reasons & Method to Convert Photoshop to Image

http://www.greepit.com/wp-content/uploads/2009/11/free-plugin-to-convert-psd-to-wordpress-theme-divine.jpg
Adobe Photoshop is one of the most popular applications largely used by graphic artists and professional photographers for editing and viewing image files. The image files created with this program have PSD file extension and are considered as Photoshop files. The Photoshop files are high quality images and are stored with the options like mask, multiple color mode, layers, multiple layers, and so on, which are specific to Adobe Photoshop.
Though layers give so many useful options to users as they can make good changes in the images, but despite the usefulness of these files, there are times when problems are encountered with this image format. Some of the commonly seen issues with PSD image files are:

PSD files are only supported by very few image editors, thus you can not think this image format as universal and use everywhere, which is one of the biggest flaws of this format.

PSD files generally take very large amount of space as it has so many features (all of which are really not required in a PSD). The property to take large space many times creates problems when storage capacity is a constraint and when you have to use these images for web.

These are some of the problems which make your PSD file difficult to be used in all environments with all computers. The best way to overcome such problems of Photoshop files is to convert them to more usable image files having JPEG, BMP, or any such extensions. Let us take a practical example to understand such case wherein a user used Adobe Photoshop to make her images livelier, but became unable to upload them:

Diana - a web designing student does some freelance work at home. On her first assignment, she has to make a website more attractive by changing and editing the existing images. For this she opened a JPEG image used on that website in Adobe Photoshop. It was a black and white picture hence to fill colors in some parts of it she used the layers/curves property. The image became colorful as she added the changes; however it saved as PSD automatically after the change and then she came across the problem wherein she needed some means to convert PSD to Image. She precisely needed a tool that can convert the PSD to JPEG (an image format that is used for the images that can be uploaded onto the web).

However, after searching over the internet, she got to know that there are tools which can convert PSD to JPEG, BMP, PNG, TIFF, etc image formats. After a thorough search she got to know about one of the largely appreciated PSD to Image converter software, changed the PSD image to JPEG, and completed her first job successfully.

Professional PSD to image converter tools can convert large sized Photoshop (.PSD) files to different image formats. Generally a reliable tool performs lossless conversion of the files and enables you to select the output settings of the converted image. The intuitive user interface of these tools guides you throughout the recovery process and facilitates you to search your file in selected drive, if its location is unknown.

Author Bio: My name is Adam and I am a writer by profession. I love to write articles about Photoshop. I have written many articles on Photoshop general tutorials, Photoshop supported free & sponsored tools such as PSD to Image Converter Tool, PSD Repair tool etc.

Read More →

Jul 18, 2012

Create Custom Brushes for illustrator and Photoshop


Creating custom brushes for Illustrator and Photoshop

Using Photoshop and Illustrator for graphic designing is extremely common now, but the professional experience differ highly. The work done in Photoshop and illustrator by a professional and amateur can easily be differentiated. Why? Because an amateur uses advance tools and options that an Amateur may not even know about. Professional graphic designer use custom tools that both Photoshop and Illustrator support. Of course building these tools is fairly easy but a lot of people find it difficult to do so. Those people are not real professionals, Nevertheless even professionals seek help from time to time, especially with newer versions of the software.

One of the best work you can do in Photoshop is when you use customer brushes. Custom brushes allow you to enhance the editing in your picture that can really make difference. For starters you can give touches on the picture that make it look authentic and unedited. Some experts use it to watermark their images so that even if stolen, no one can deny that it is truly not their own.

Starting with custom brushes


To create a custom brush you first need a texture image. You can get these texture images easily by searching them on Google. It is highly advised not to use images that already belong to someone else. For the sake of a fellow designer, I advise you to use images that are out there for sample purposes or is distributed free of cost. Open the image on Photoshop and DE-saturate the image. In Photoshop7 you can do this by (SHIFT+CTRL+U). What you get will be present in a background layer. Copy this layer and paste it so that it become layer1 and now delete the Background Layer. We do this because it is easier to edit Layer1 and Background layers are not always editable. Now edit this layer to your liking. Use the brightness settings, changing the levels, playing with the contrast and saturation etc.

The easy Part

You’ve created the brush but Photoshop sees it as an image. So now you have to create the image as a brush. To do this go to “edit” and then click “Define Brush”. A window will appear asking you to name and save the brush. Name it and click “Done”. That’s it you have created your new brush. You will need to save it in order to use it. You can use the same brush on other similar applications like illustrator. Once you’ve made many different brushes you need to do one more thing. In the “Edit” option find Preset Manager. The window will show you all the brushes available on your computer. Click on the ones you want and then click on save option.

If you want to load a brush from your back files simply go to “window” select Pallets and then show brushes. Find the brush on your back up drive and load it. You will get the brush now displayed on your application.

Author Bio- The author is an expert in online marketing financial solutions. He has experience in giving advice on increasing productivity and money saving schemes for online businesses. He also has experience in providing online "You can do this by using the following basic HTML code in the article:
credit card solutions solutions for ecommerce businesses


Read More →

Jun 2, 2012

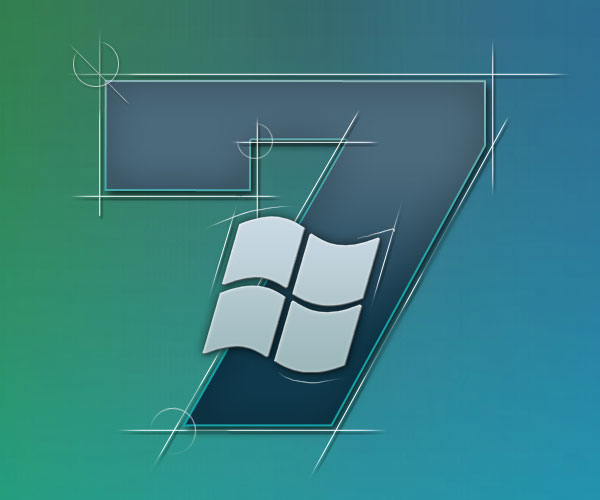
Creating the Windows 7 Wallpaper for your Desktop

Probably not in this world no ITshnika who has not heard of the release of Windows 7, many have even managed to set it as your home Windows. I myself am in the process of installation - recently bought a new hard drive, 2 cooler for the body and found I needed the distribution of Windows 7. What is missing is time to take off everything and work, but to concentrate once and get away with cumbersome and dreaded Vista. So for those who are still in, as I propose to put in thought a motivational wallpaper in the style of Windows 7, but instead to look for them, we will try to draw them yourself in a photo editor Photoshop (English version).

So in this tutorial I'll show you how to make a beautiful wallpaper of Windows 7 . Here we go. To begin with, by the way, I propose to evaluate the final result of our work:

Wallpaper windows 7

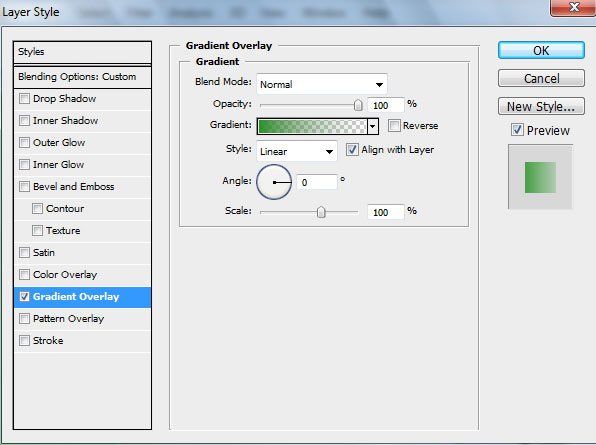
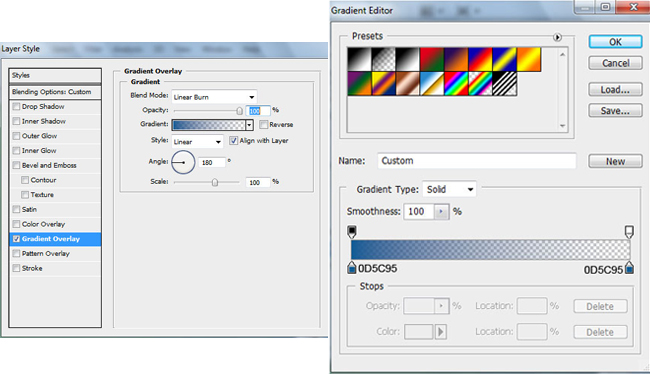
Create a new file (File> New) size of 1920px to 1200px, in the "Background Contents" select White. Then knock out the tool Rectangle Tool (U) and draw a rectangle. Fill the parameter is set to 0% and go into the settings of the layer (Layer Style), then proceed Styles> Gradient Overlay.

Photoshop gradient

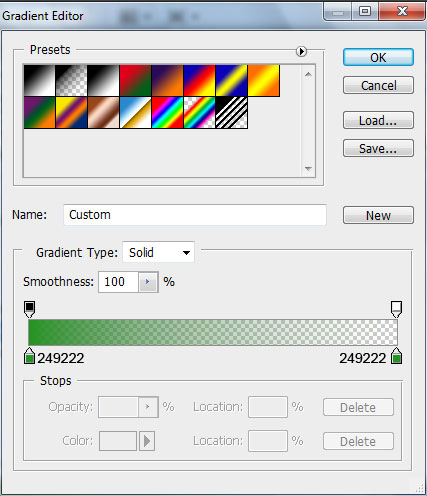
Select the Gradient Editor by clicking on the gradient, pay attention to the colors used codes:

Photoshop gradient

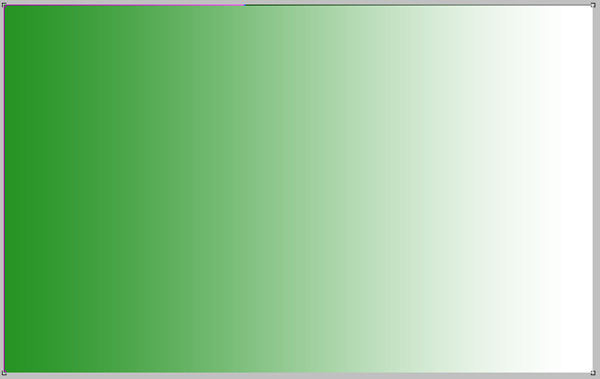
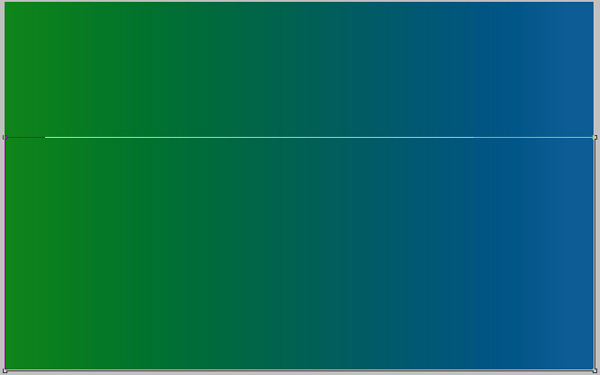
The result will be something like:

photoshop gradient

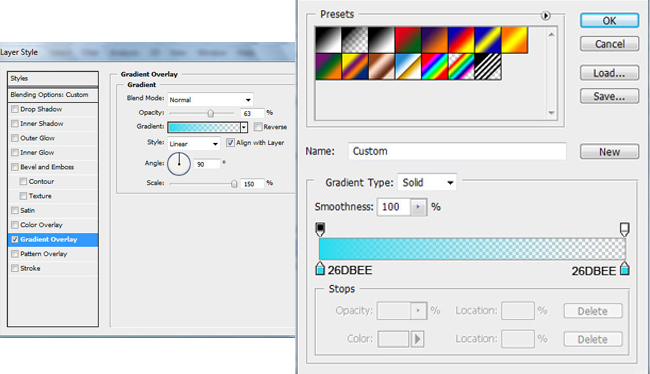
Use this same technique to create another layer of background. Again, draw a rectangle on the screen. For him, just expose the Fill to 0% and go into the settings of the layer (Layer Style), to the point of Gradient Overlay and choose a different color.

photoshop gradient

Should have:

photoshop gradient fills

Then again, select the tool Rectangle Tool (U), select a rectangle slightly smaller, and fill our new gradient background. The newly set to Fill the layer to 0%, go to the settings of the layer and go to Gradient Overlay.

photoshop gradient

Total we have the background wallpaper in the style of Windows 7

photoshop gradient

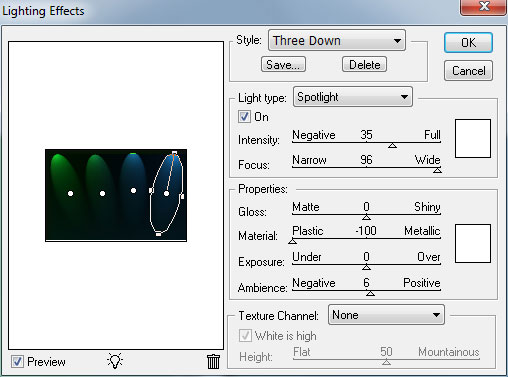
Now we make from all walks of one image, it will be the background. Select them all (hold down the Ctrl key and click on each layer) and press Ctrl + E, or click the right mouse button and click on "Merge Layers". We had a merged layer. Next, make a copy and go to Filter> Render> Lighting Effects.

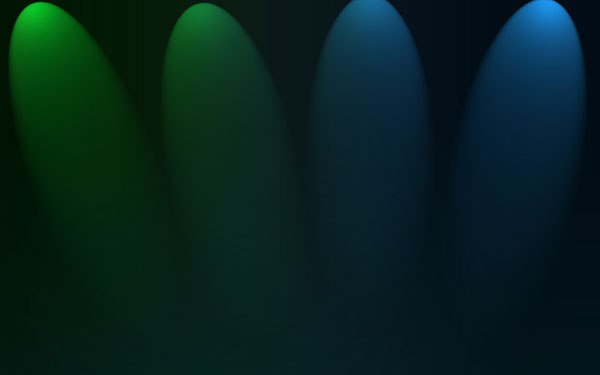
photoshop lights effects

photoshop lights effects

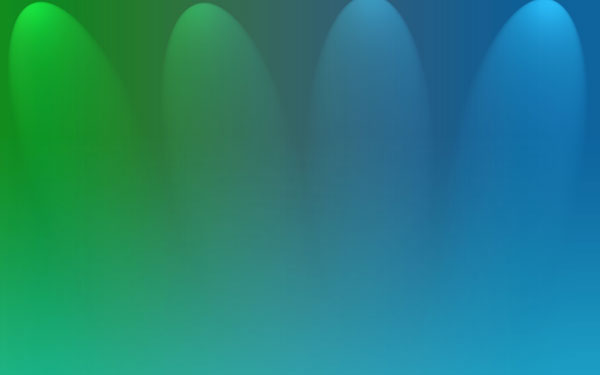
We set up the layer Blend Mode to Mode Screen.

photoshop Blend Mode

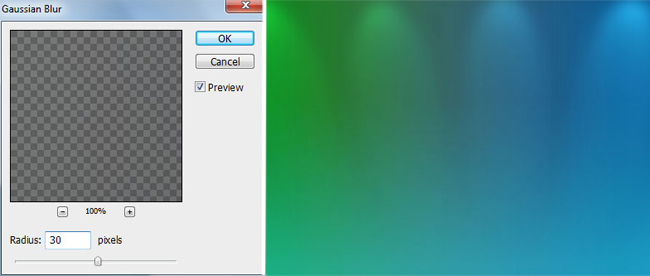
As well as set up in the box Blur Filter> Blur> Gaussian blur.

Gaussian blur

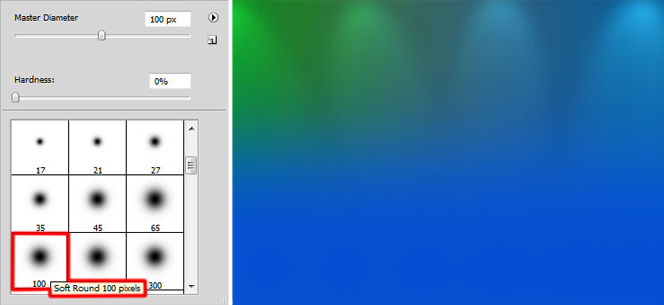
Create a new layer and using a brush paint the bottom of the layer. Brush Color: R: 5, G: 80, B: 210.

photoshop paint layer

Add a Layer Mask by clicking on the button Add Layer Mask, which is located at the bottom of the Layers palette.Then use a brush of black color with a value of Opacity - 30%. She paints a vivid blue background on the relevant parts so that it does not stand out. The result should look like this:

Set the Blend Mode is set to Luminocity.

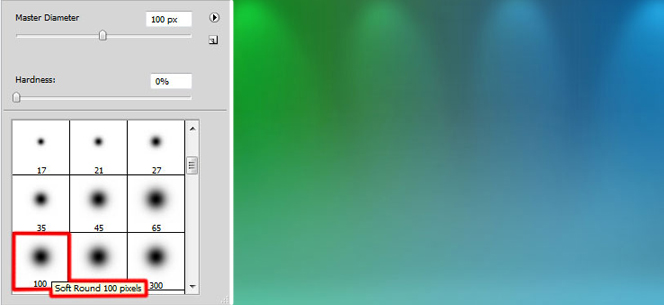
Create a new layer. Choosing the same brush, but white with the Opacity to 10%, which would be "light" bottom layer.

Set the Blend Mode to the value of Overlay.

Now the first part of a lesson on how to create the Windows 7 wallpaper for your desktop can be considered complete - will continue to add the logo of the system.

Read More →

Fractal Free Brushes for Photoshop

You know what a fractal? Before interest, I had a vague idea. In general, represented, but ask me to explain - hardly could be. It turned out a fractal is a geometric figure is self-similar (each smaller part of such an overall figure). Definition is not very clear, therefore, it is better to see once than hear a hundred times. Today I have in store for you some great sets of fractal brushes, which will be useful in the household:

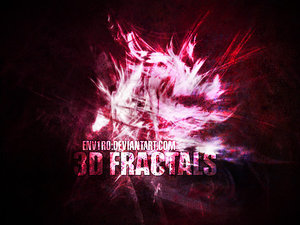
3D Fractals

Fractal Photoshop Brush

Download ( mirror ) ~ 7,7 Mb / Source

In a set of 3D Fractals are 12, including a large (diameter up to 1950 pixels), brushes for photoshop.

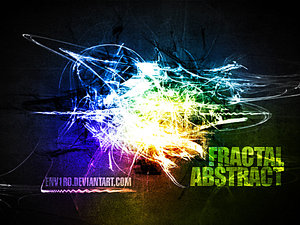
Abstract Fractal

fractal photoshop

Download ( mirror ) ~ 7,8 Mb / Source

In a set of Abstract Fractal, is the same 12 brushes. Compatibility - Photoshop 7 and above. As can be seen even on the preview image, the brush can add a very cool effects in the overall appearance of your web project.

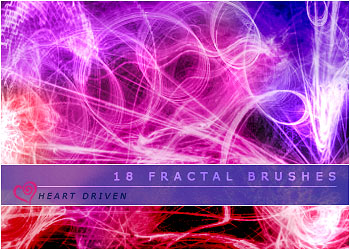
02 Fractal Brushes

photoshop brushes

Download ( mirror ) ~ 6,6 Mb / Source

The set includes 18 brushes created for Photoshop CS2 and higher. Resolution ranges from 800 - 1100 pixels.

In addition to "open" fractals presented above, there is a "closed", "concentric" (this is not common terminalogiya, this is how I call them). Brushes (and sets) with fractal shapes as there are, here are two excellent examples:

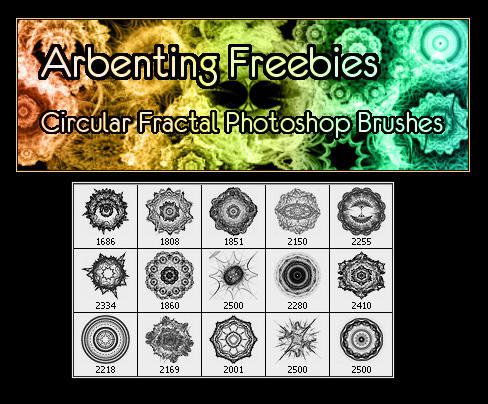
Circular Fractal Pack 1

Photoshop brush set

Download ( mirror ) ~ 27,5 Mb / Source

This set includes 15 fractal brushes for Photoshop at high resolution. Download and try to put into practice, judging from the preview should get something interesting. Of course, a separate small brush apply, but in conjunction with other design elements you can get a pretty picture.

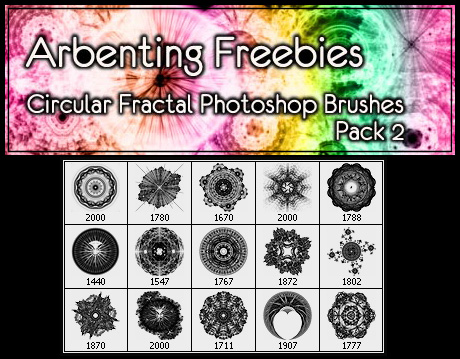
Circular Fractal Pack 2

Fractal Brushes

Download ( mirror ) ~ 20,5 Mb / Source

Continuation of Circular Fractal Pack. Like its predecessor contains 15 brushes.

Fractal Brush must be in the arsenal of any designer. Because only by mere fractal brushes you can create a great abstract bekgraund. In a word - Mast keV! In addition, data sets of brushes can add the original light effects on the site that looks quite nice. "Weigh" of course, a lot of files, but it's definitely worth it.

Read More →